Google Custom OAuth Client
By default, Neudash connects to Google using our built-in app. This works for most users, but you can set up your own Google connection if you want:
- Full control over which Google services are enabled
- No shared usage limits — your own limits directly from Google
- Stays connected longer — your connection won’t expire from inactivity
- Your own branding on the Google permission screen
- Access to more Google services like full Gmail or Drive access
What you’ll need
- A Google account (personal or Google Workspace)
- Access to Google Cloud Console — Google’s dashboard for managing apps and services
Google Cloud is free to use for this setup. You won’t be charged anything.
Step 1: Create a Google Cloud project
- Open the Google Cloud Console
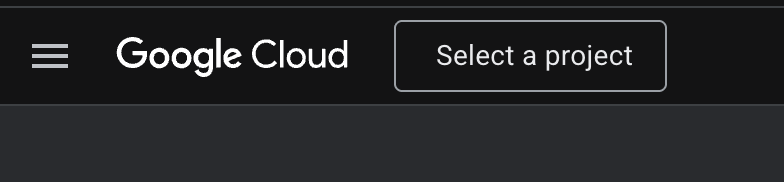
- Click the project dropdown at the top of the page
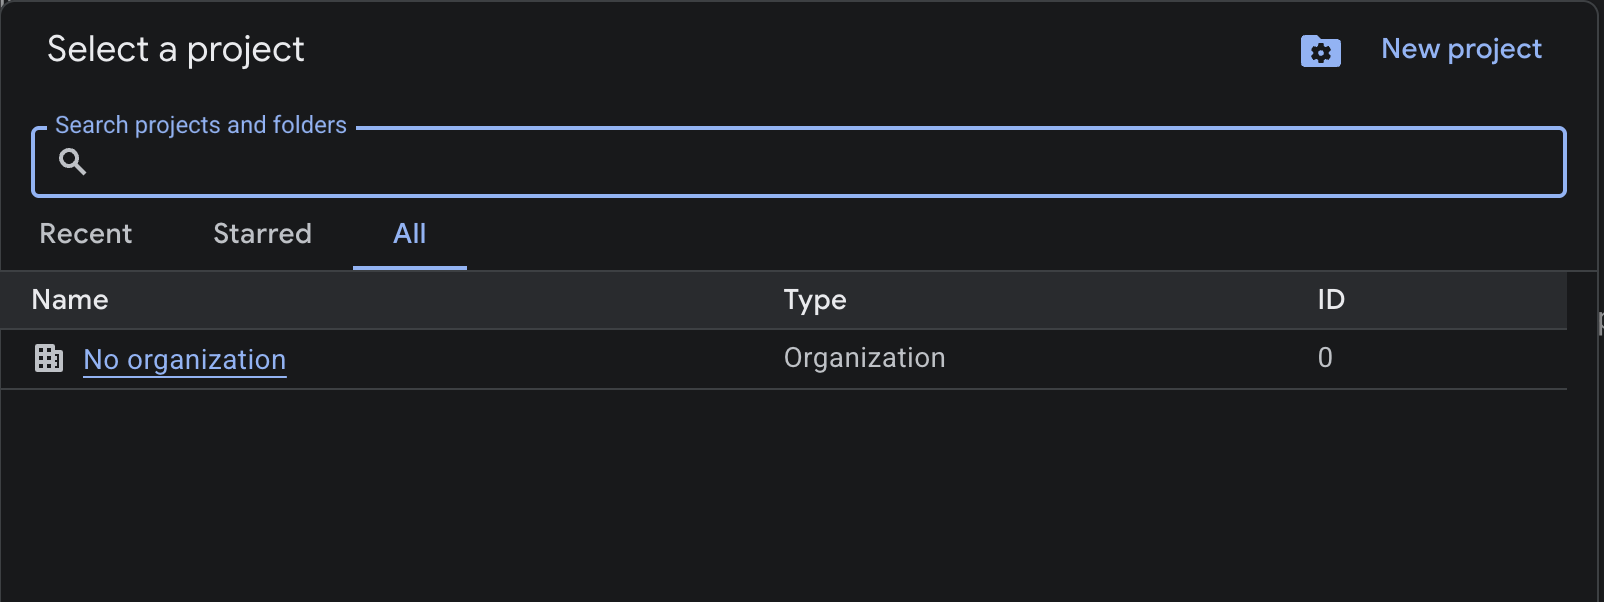
- In the project selector modal, click New Project in the top right
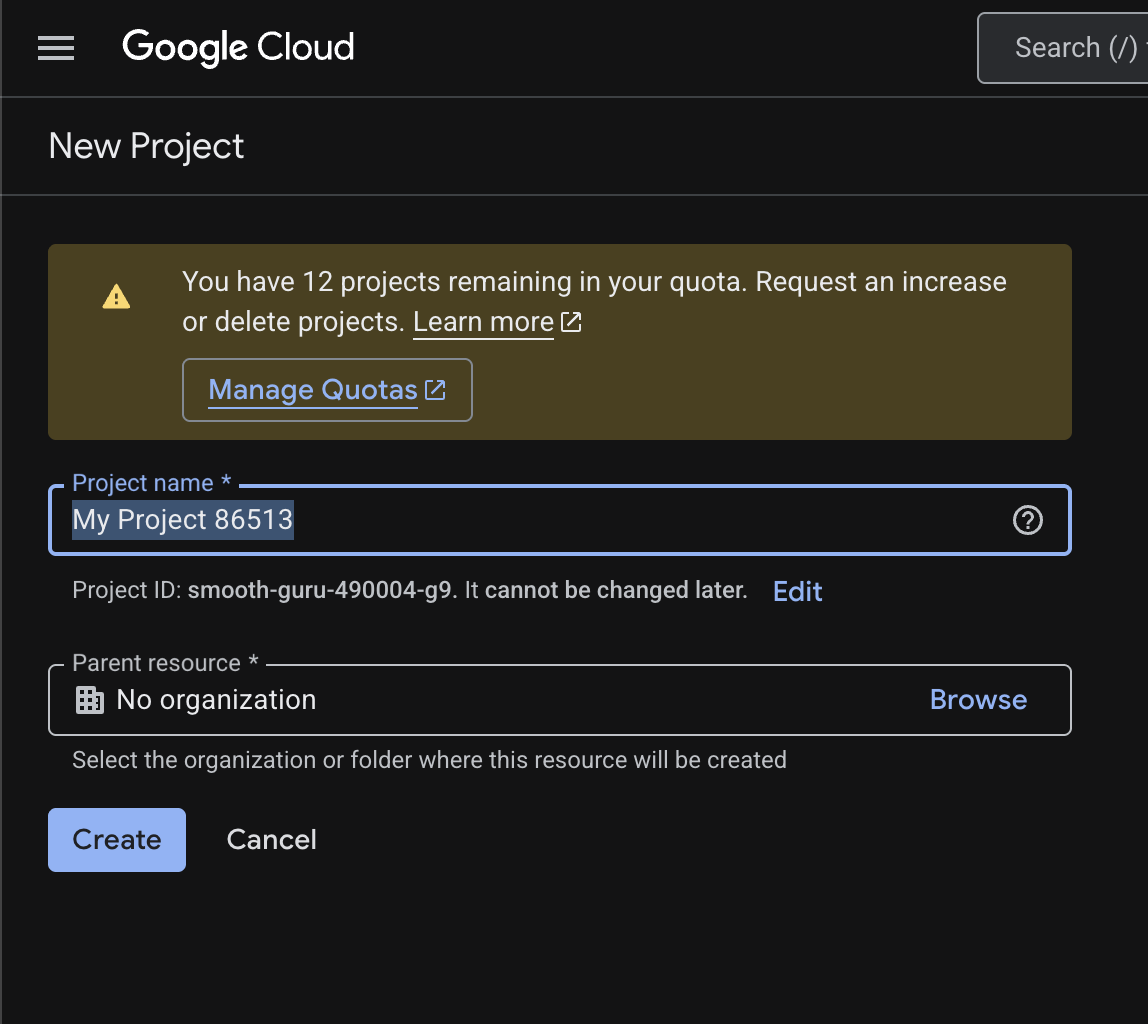
- Enter a name for your project (e.g. “Neudash”) and click Create
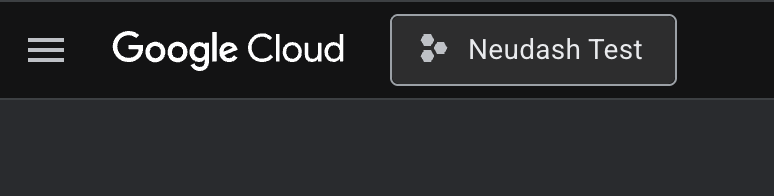
- Wait a few seconds for the project to be created, then select it from the project dropdown. You should see your project name in the header.
Step 2: Turn on the Google services you need
Neudash can work with several Google services. You only need to turn on the ones you plan to use.
- In your project, go to APIs & Services > Library (or type the service name in the search bar at the top)
- Search for and turn on each service you need:
| API | What it’s used for |
|---|---|
| Gmail API | Reading and sending email |
| Google Drive API | Accessing files in Drive |
| Google Sheets API | Reading and writing spreadsheets |
| Google Calendar API | Accessing calendar events |
- For each service, click on it and then click Enable
You can always come back and turn on more services later.
Step 3: Set up the Google permission screen
The permission screen (Google calls it the “consent screen”) is what people see when they allow Neudash to access their Google account.
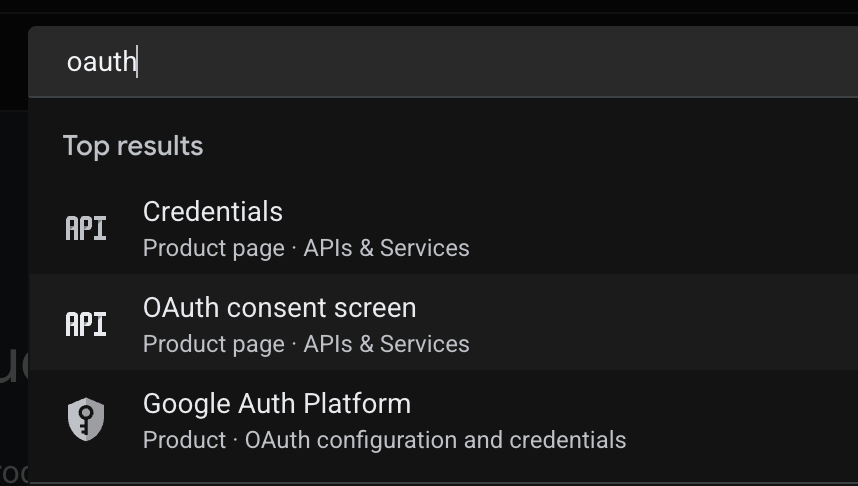
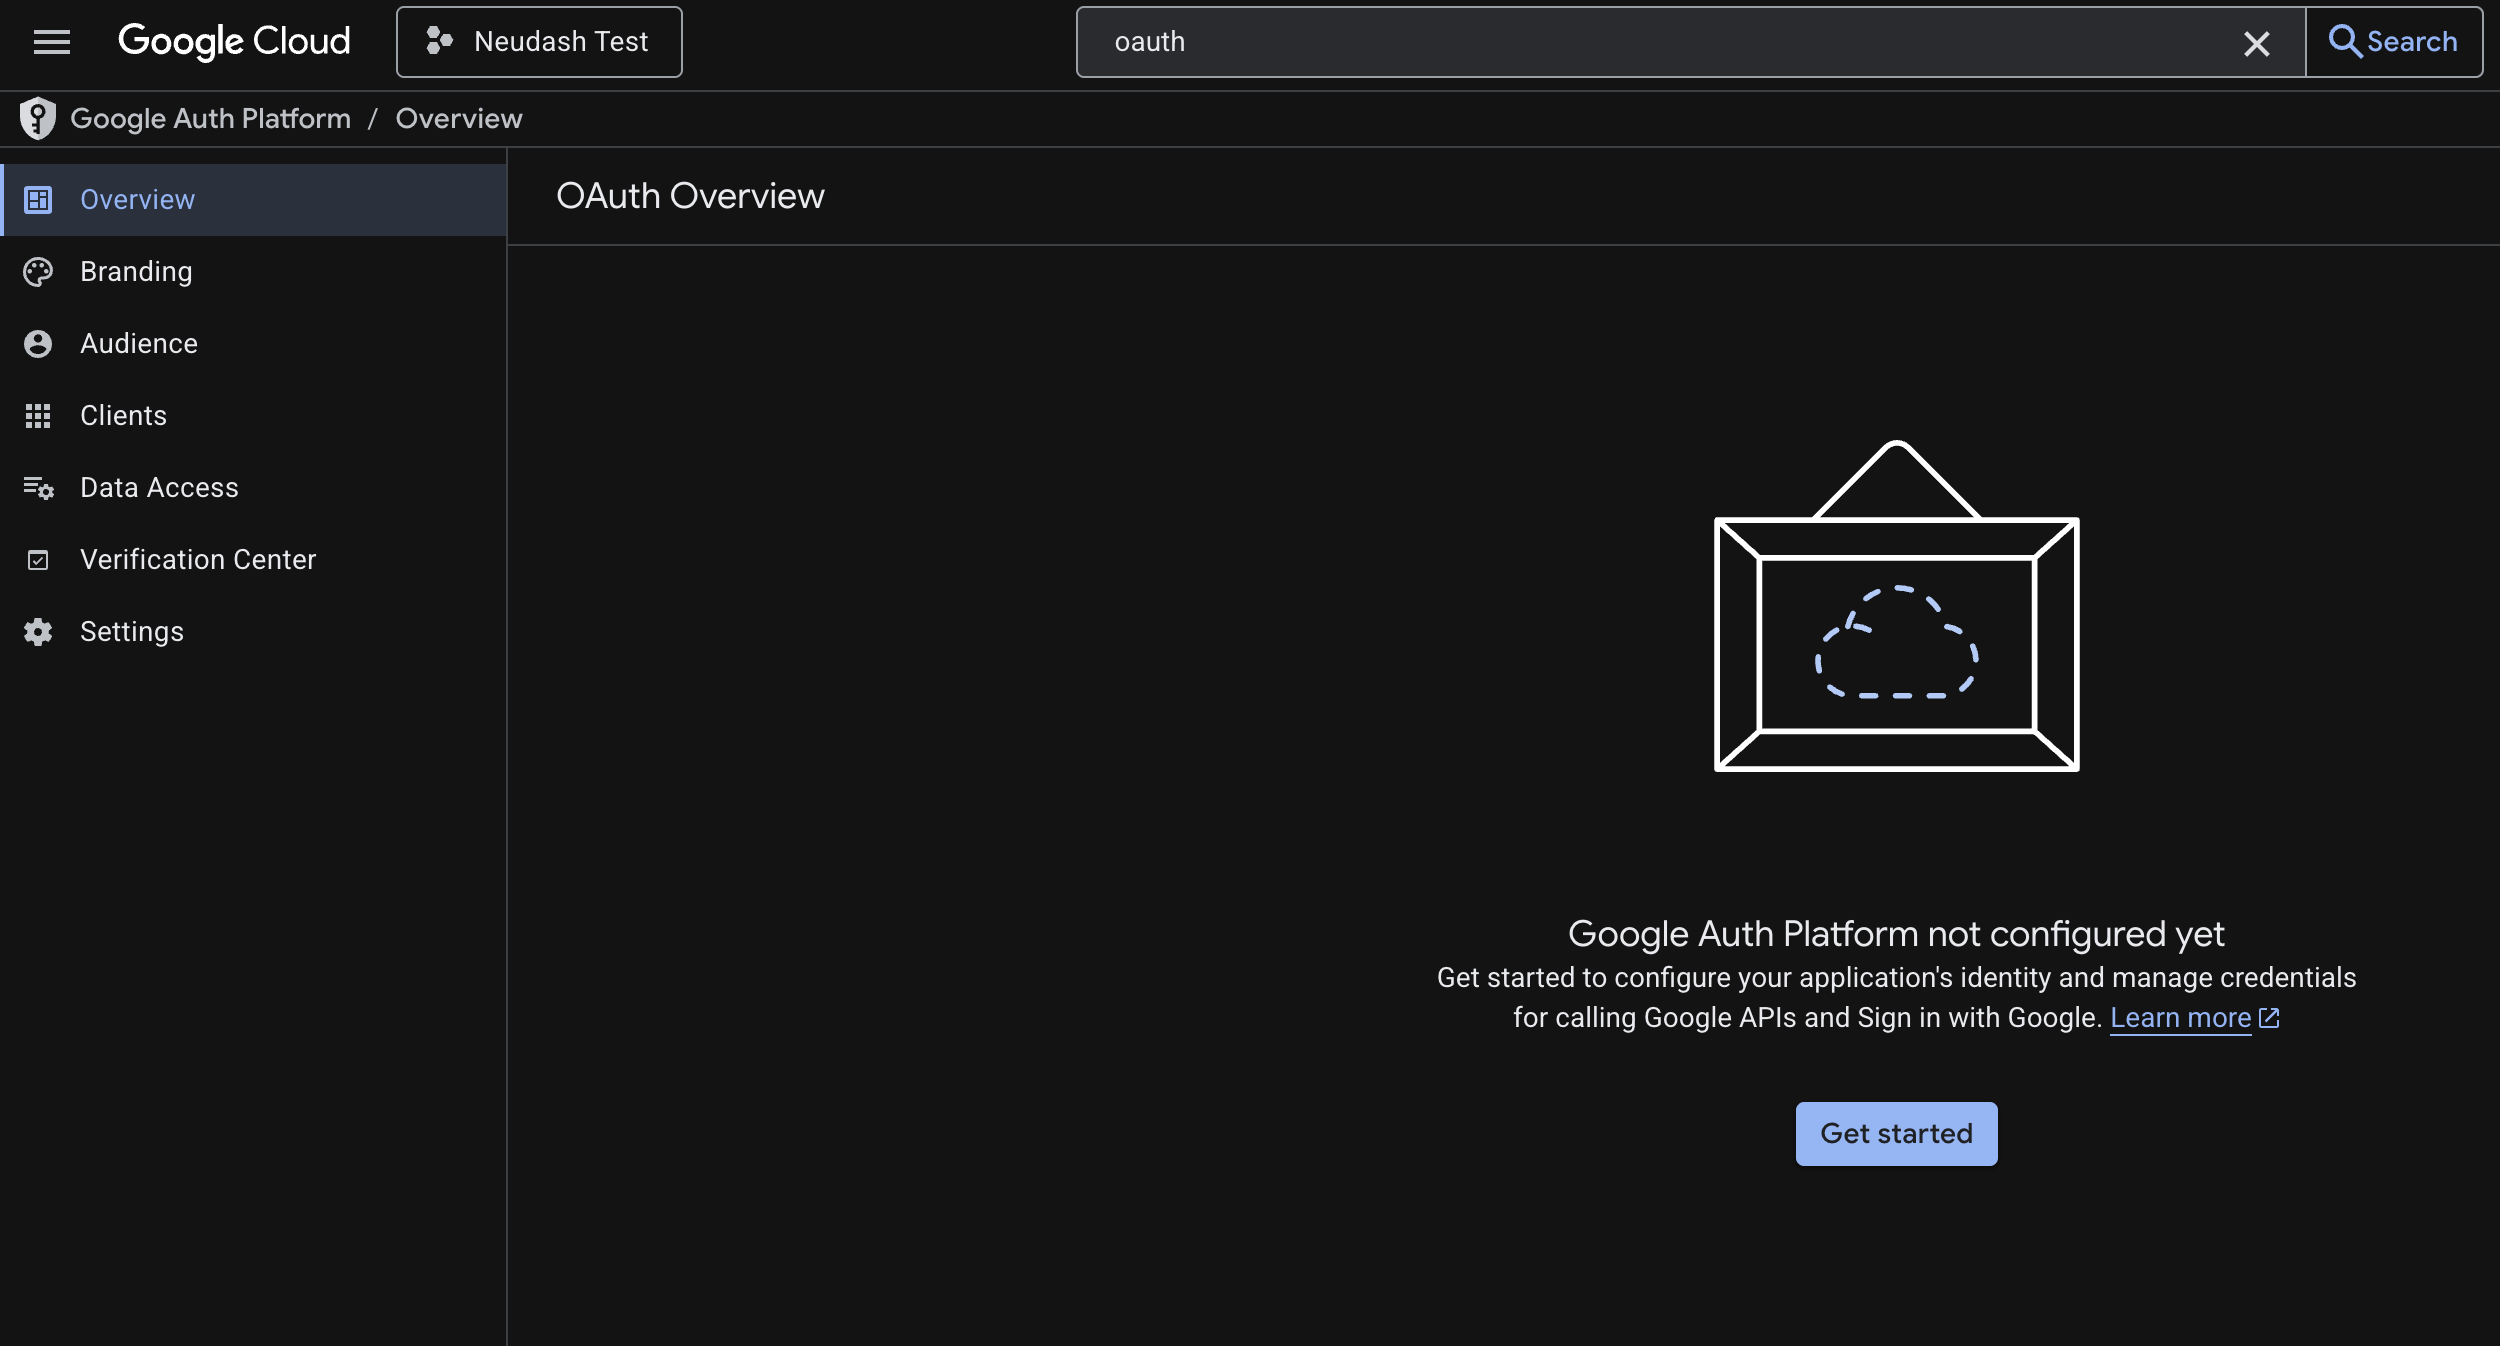
- In the search bar at the top of Google Cloud Console, type oauth and select Google Auth Platform
- You’ll see the Google Auth Platform overview page. Click Get started.
- In the App Information step, fill in:
- App name — a name for your app (e.g. “ACME Corp Neudash”)
- User support email — select your email address from the dropdown
- Click Next

- In the Audience step, select External
- Choose Internal only if you have a Google Workspace organization and want to restrict access to your organization
- Click Next
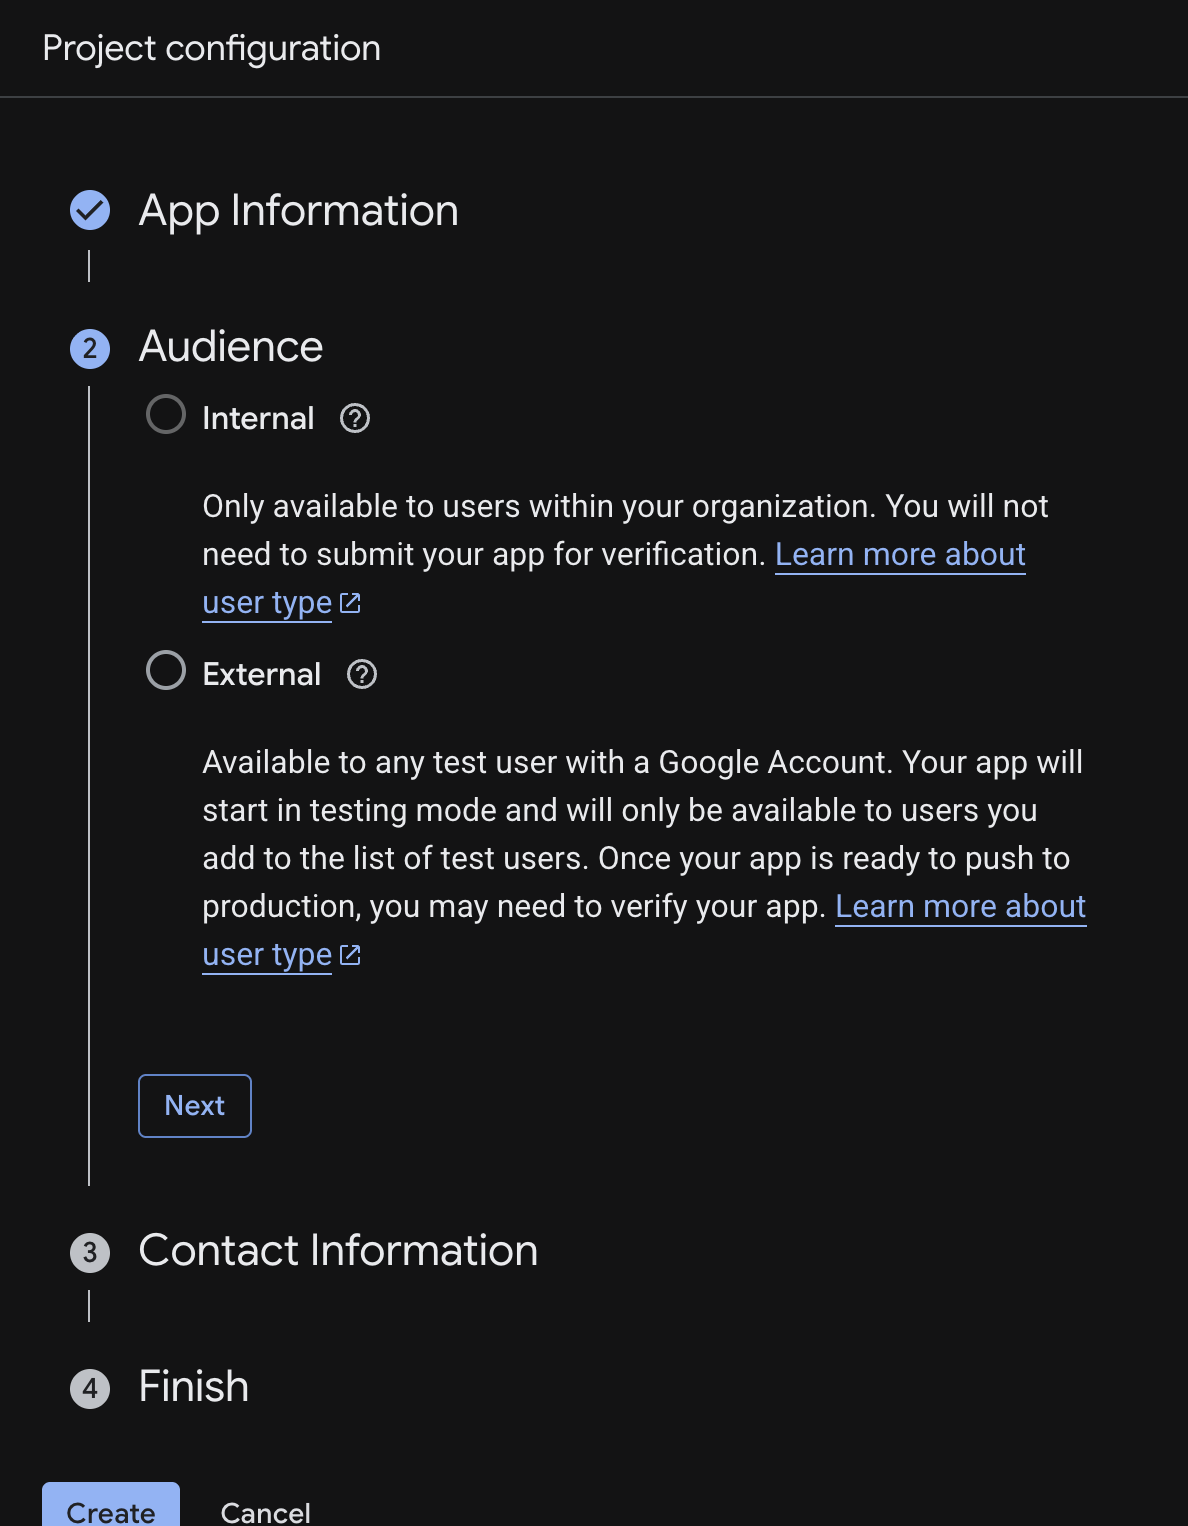
- In the Contact Information step, enter your email address and click Next
- Review the summary and click Create
About test mode
New apps start in Testing mode. While in testing mode, only people you’ve specifically added can use the connection. This is fine while you’re setting things up. If you later want other people in your team to use it, you can publish the app (see Step 5).
Step 4: Create your connection credentials
These credentials are what Neudash uses to securely connect to your Google account.
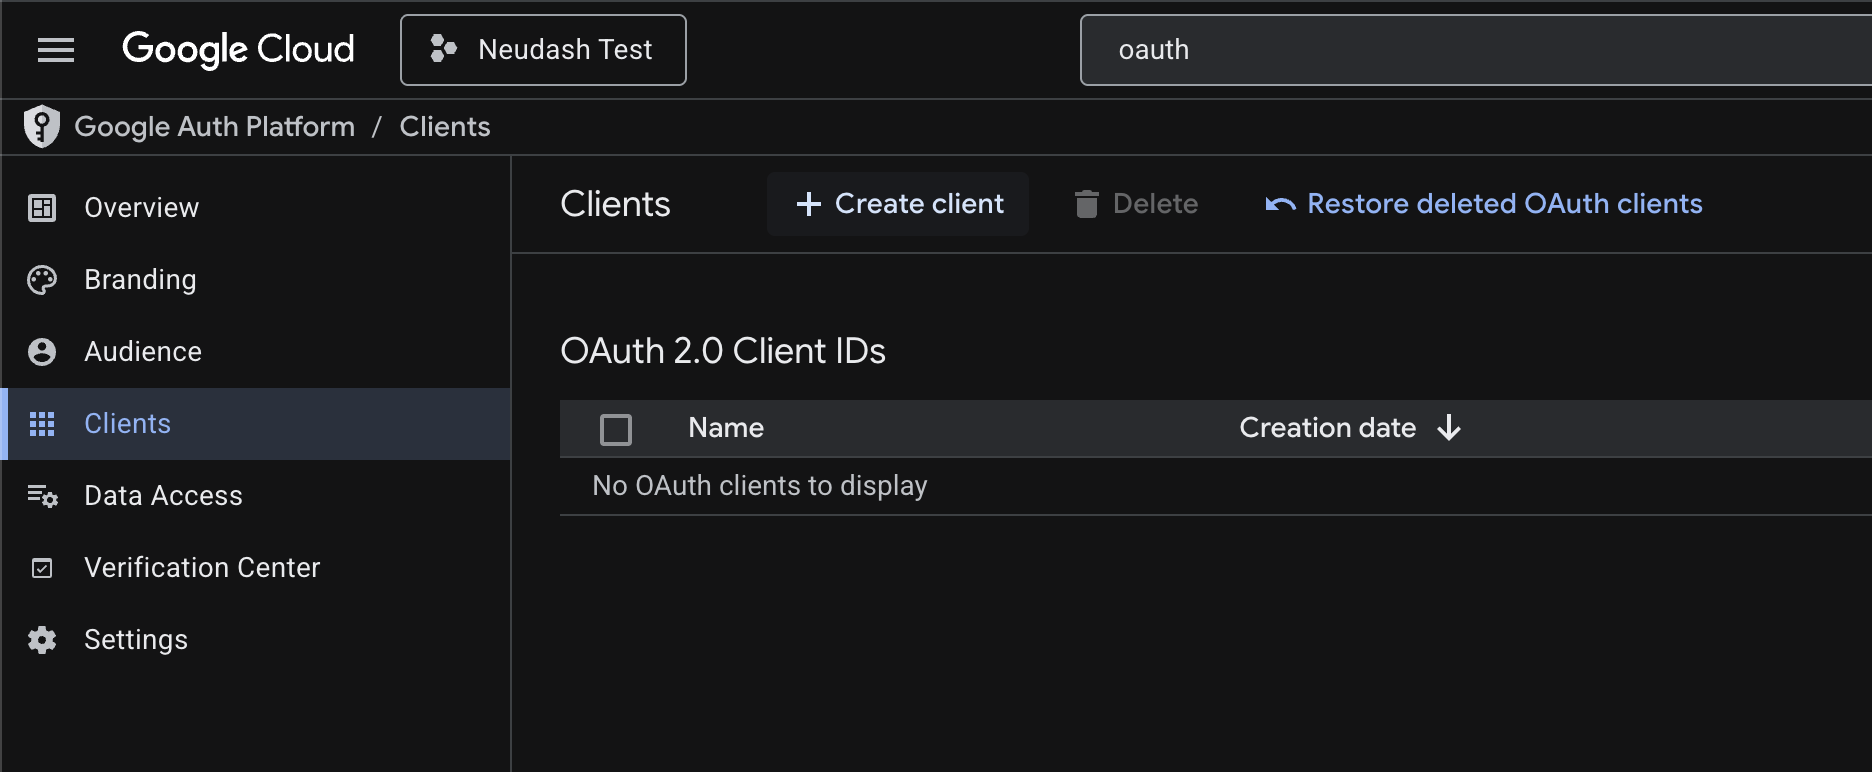
- In Google Auth Platform, click Clients in the left sidebar, then click + Create client
- For Application type, choose Web application
- Give it a name (e.g. “Neudash”)
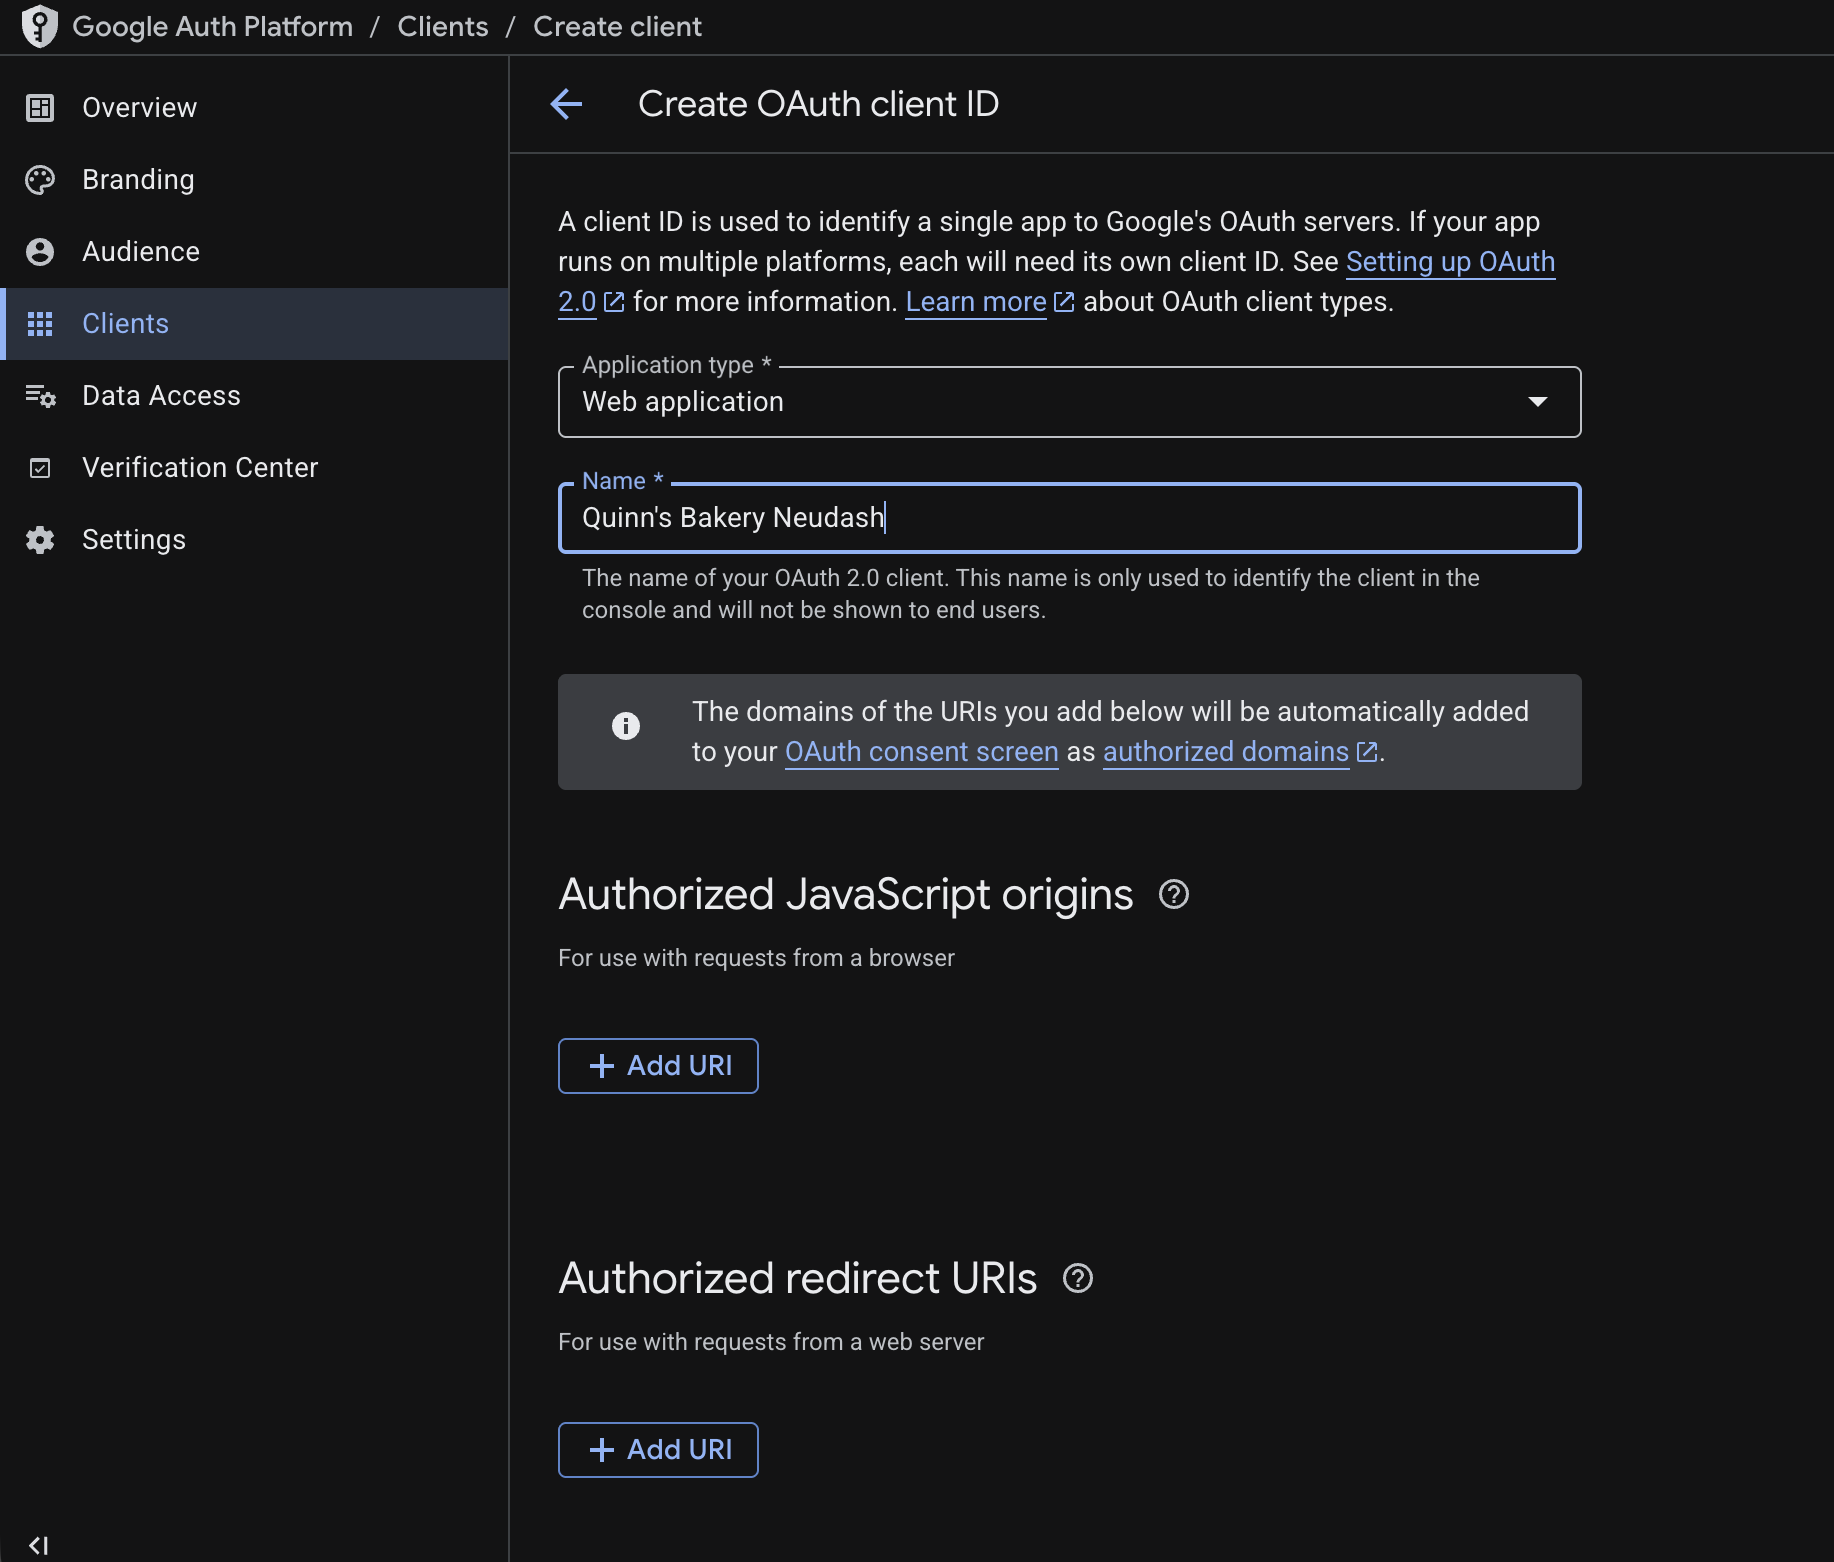
- Scroll down to Authorized redirect URIs, click + Add URI and enter exactly:
https://connect.neudash.com/callback/google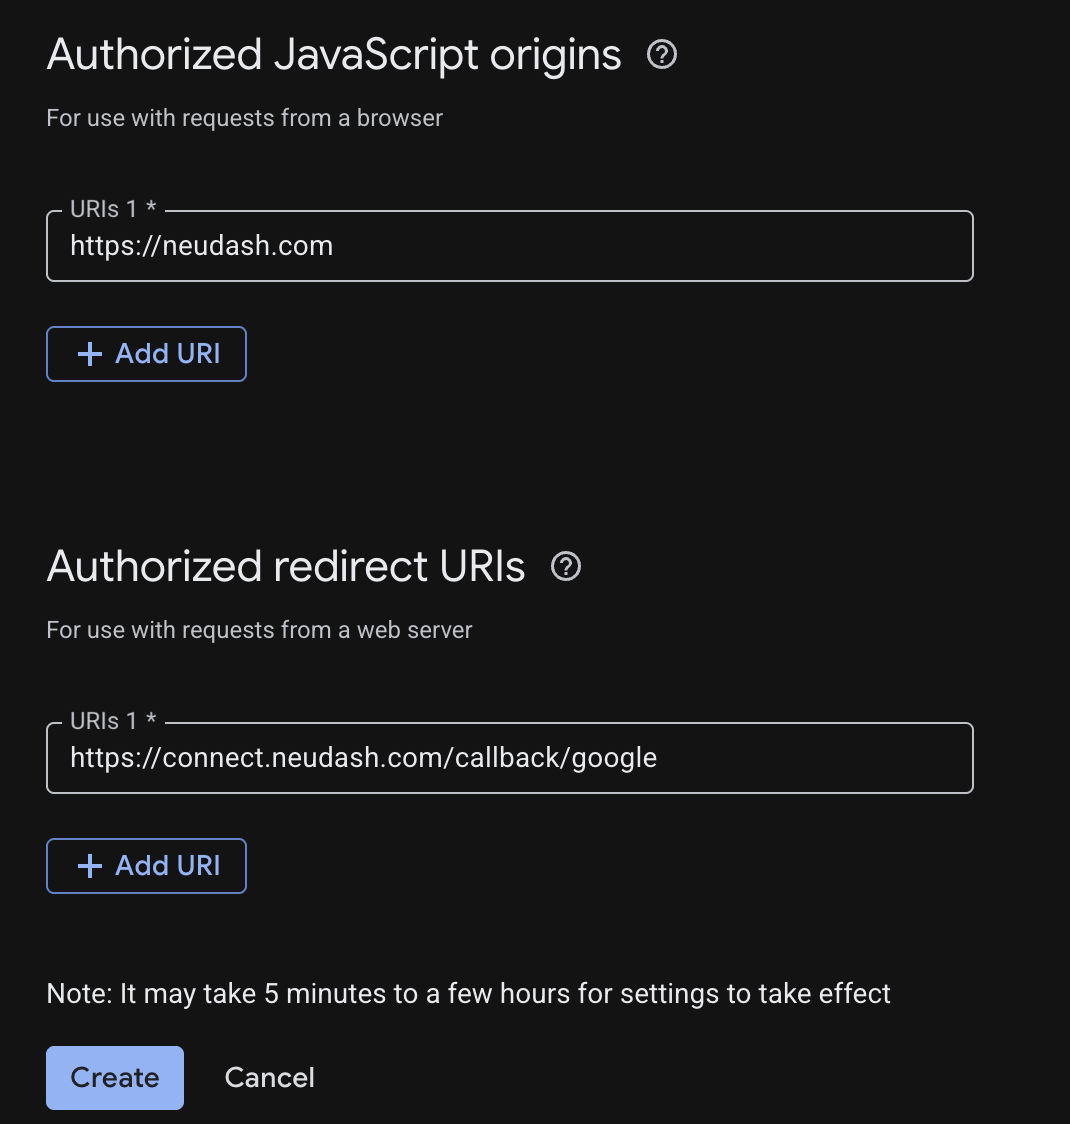
- Click Create
- A dialog appears with your Client ID and Client Secret — copy both values and store them somewhere safe
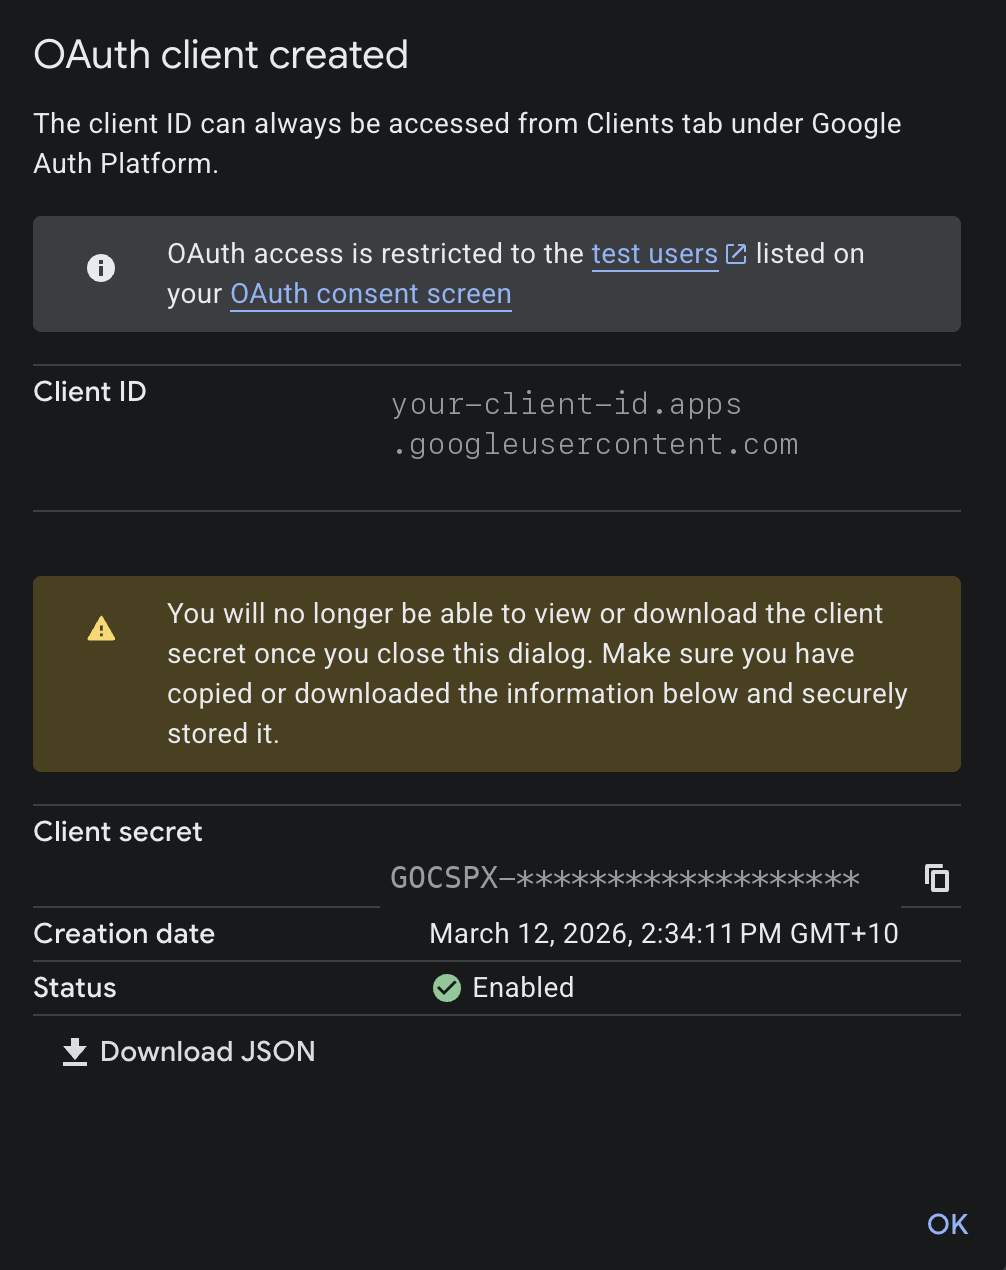
- Click OK
Add your credentials to Neudash
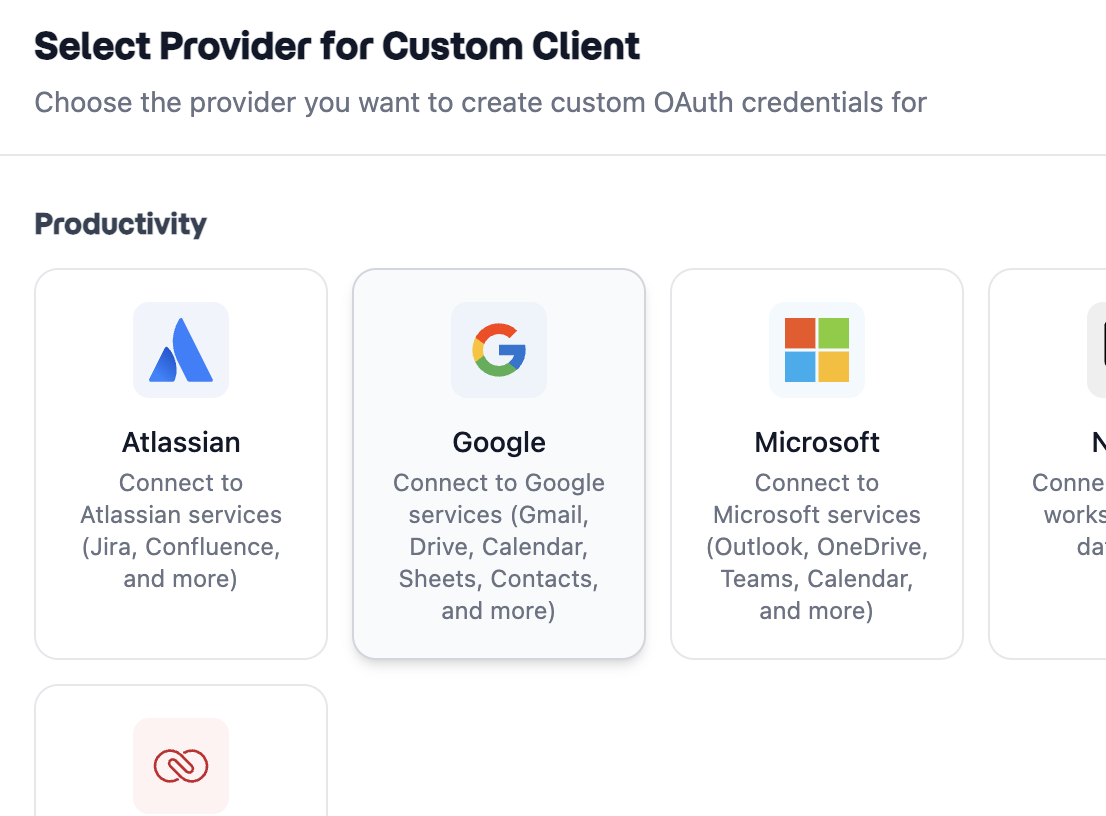
- In Neudash, go to Configurations and click + Add Configuration

- Select OAuth Client
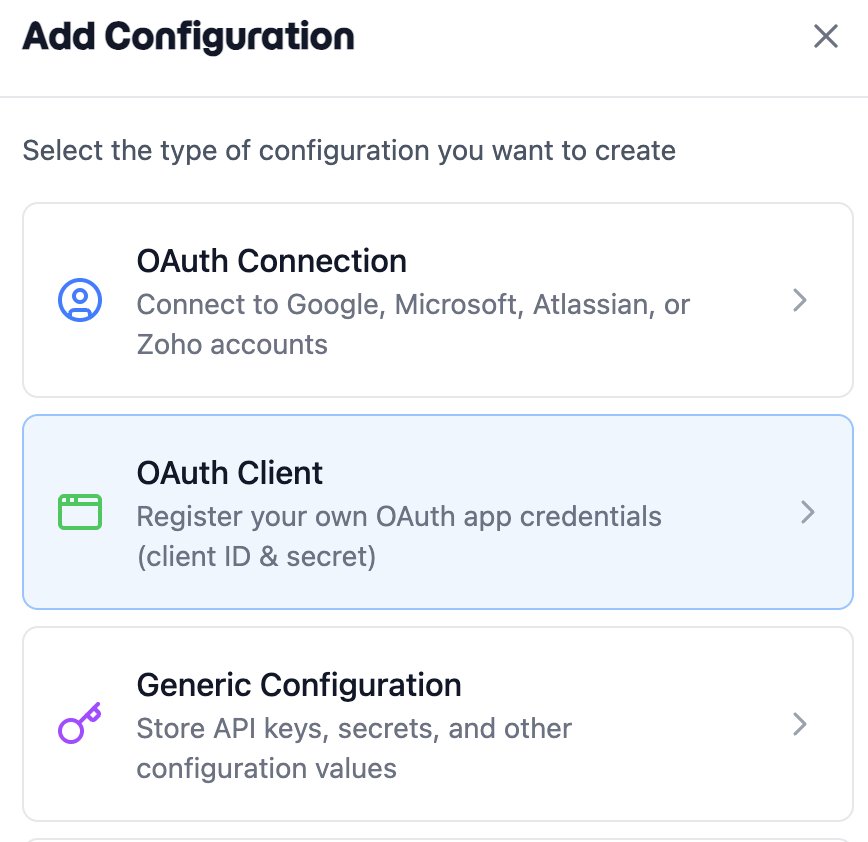
- Select Google as the provider
- Fill in the form:
- Name — a name to identify this client (e.g. “My Google Client”)
- Description — optional description
- Client ID — paste the Client ID from Google Cloud Console
- Client Secret — paste the Client Secret from Google Cloud Console
- Click Create

Your custom OAuth client is now active and ready to use.

Step 5: Publish your app (optional)
If you’re the only person using this integration, you can leave your app in testing mode. But if other people in your team need to authorize:
- Go to Google Auth Platform > Audience
- Click Publish App
- Confirm by clicking Confirm
For apps that access sensitive data (like reading your emails), Google may ask you to verify your app. This means submitting it for review, which can take a few days to a few weeks. In the meantime, users will see an “unverified app” warning but can still proceed by clicking Advanced > Go to [your app name] (unsafe).
Troubleshooting
“Redirect URI mismatch” error
The redirect address must match exactly. Double-check that you entered:
https://connect.neudash.com/callback/googleCommon mistakes:
- Adding a trailing slash (
/google/instead of/google) - Using
http://instead ofhttps:// - Extra spaces before or after the URL
“Access denied” or “Error 403”
- Make sure your email is added as a test user in the Google Auth Platform Audience settings (while the app is in testing mode)
- Verify that the APIs you need are enabled in APIs & Services > Library
“This app isn’t verified” warning
This is normal for apps in testing mode or apps that haven’t completed Google’s verification process. You can safely proceed by clicking Advanced > Go to [your app name] (unsafe) — this only means Google hasn’t reviewed your app, not that it’s actually unsafe.
A Google service isn’t working
If a specific Google service (like Gmail or Sheets) isn’t working with your custom client:
- Check that the corresponding API is enabled in Google Cloud Console (see Step 2)
- Reconnect your Google account in Neudash — this refreshes the permissions with the updated settings